 Save
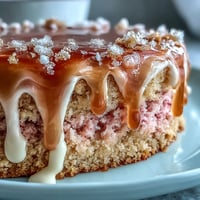
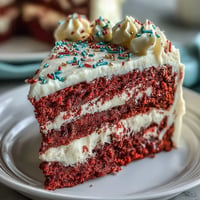
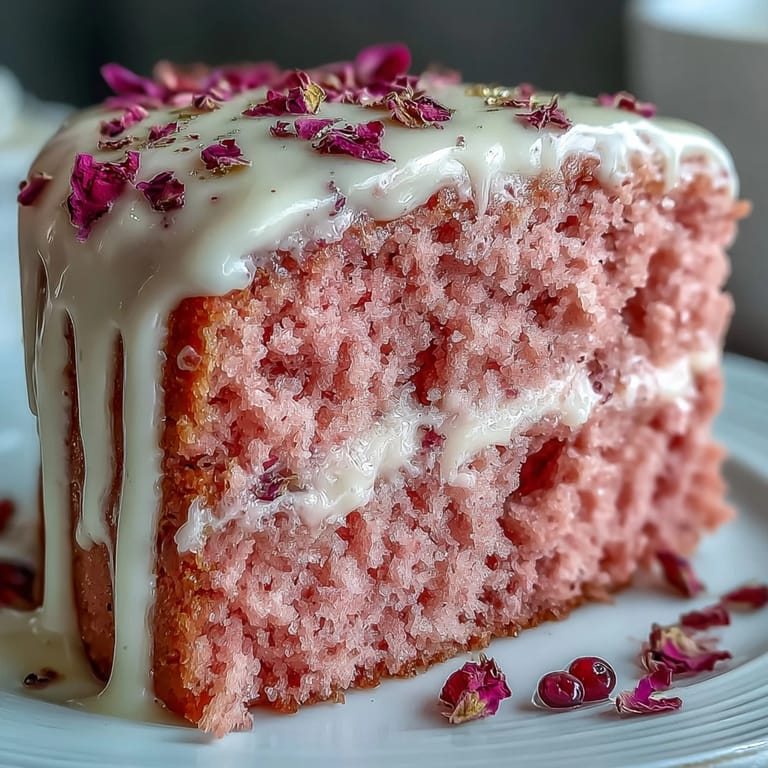
Save As soon as the scent of rosé drifted from the oven one spring afternoon, I knew this cake would become something extraordinary. It wasn't the kind of day marked by grand events—just a quiet moment, a sparkling idea and a little time to experiment with blush-colored batter. There’s something playful about folding pink food coloring into a cake, especially when the result feels like a celebration even before the candles come out. That first gleaming gold drip—wobbling nervously atop still-cooling buttercream—felt like a minor kitchen triumph, the kind that makes you pause and admire your own handiwork. If you love cakes that taste as whimsical as they look, this rosé velvet creation is a showstopper waiting to happen.
The first time I made this for a bridal shower, I was surrounded by a whirl of friends discussing decorations and flower choices. I remember piping roses onto the cake while my friend recounted her engagement story—my hands slightly trembling with excitement each time someone peeked over my shoulder. It became our unofficial centerpiece, drawing everyone in for their turn with the camera before we’d even cut the first slice. By the time the sun dipped behind the windowsill, laughter mingled with the scent of rosé and butter, and the cake felt like it had woven itself into our celebration. That’s the power of cake crafted by hand, with a touch of gold and good company.
Ingredients
- All-purpose flour: Gives the cake its tender, airy structure—be sure to measure it carefully for even layers.
- Granulated sugar: Sweetens the batter, and a fine texture melts beautifully into the crumb.
- Baking soda: Helps the cake rise with just the right amount of lift.
- Fine salt: Brightens flavors and tames the sweetness.
- Unsweetened cocoa powder: Just a spoonful deepens the flavor and gives a lovely undertone beneath the pink.
- Vegetable oil: Keeps everything soft and moist, with an easy-to-mix consistency.
- Eggs: Room temperature eggs blend smoothly and make the cake plush.
- Buttermilk: Gives a gentle tang and lovely tenderness to the crumb—don’t skip it!
- Rosé wine: Adds a playful floral note and is the reason everyone will ask for your secret ingredient.
- Vanilla extract: Rounds out all the edges with warmth and familiar sweetness.
- White vinegar: Reacts with baking soda to lift the batter and balance flavor.
- Pink or rose gel food coloring: Lets you dial in just the right romantic blush for your celebration.
- Unsalted butter: Use it at room temperature for the silkiest buttercream.
- Powdered sugar: Sifted to ensure your frosting stays cloud-light and lump-free.
- Heavy cream: Loosens the chocolate drizzle for easy dripping—but don’t let it get too runny.
- White chocolate chips: They melt smooth and carry the gold paint beautifully on top.
- Edible gold luster dust: Absolutely essential for that magical cake-top shimmer—double-check it’s labeled food-safe.
- Vodka or clear lemon extract: Makes a quick-drying paint for applying gold—trust me, it’s easier than it sounds.
- Rose petals or berries (optional): For that final flourish of glamour and color.
Tired of Takeout? 🥡
Get 10 meals you can make faster than delivery arrives. Seriously.
One email. No spam. Unsubscribe anytime.
Instructions
- Set Up Your Cake Pans:
- Preheat the oven to 350°F and line your pans with parchment paper—sheets that hug the bottom mean your cakes lift out like a dream.
- Mix Dry Magic:
- Whisk flour, sugar, baking soda, salt and cocoa powder together; listen for the soft hiss as the powder settles and try not to sneeze in the cloud.
- Stir Up the Rosé Batter:
- In a second bowl, mix oil, eggs, buttermilk, rosé, vanilla, and vinegar until it’s glossy and almost fragrant enough to eat raw.
- Bring It All Together:
- Tip wet into dry and fold just until streaks disappear; swirl in food coloring and watch the batter bloom rosé-pink.
- Bake and Cool the Layers:
- Divide batter into pans and bake 30–35 minutes until a toothpick comes out clean, the kitchen smelling gently of vanilla and blushing wine.
- Unmold and Rest:
- Cool in pans for 10 minutes, then turn onto a rack—this is your excuse to sneak a crumb sample.
- Whip Up Rosé Buttercream:
- Cream butter until fluffy, then gradually add powdered sugar, rosé, vanilla, and salt; beat until it’s thick but will hold a swoop.
- Construct and Crumb Coat:
- Stack the cakes, spreading buttercream between each layer; use an offset spatula for smooth edges and chill so crumbs don’t escape.
- Final Frost and Prep for Gold:
- Apply a generous final layer of buttercream, smoothing out sides and top—don’t stress about total perfection.
- Gold Drip Drama:
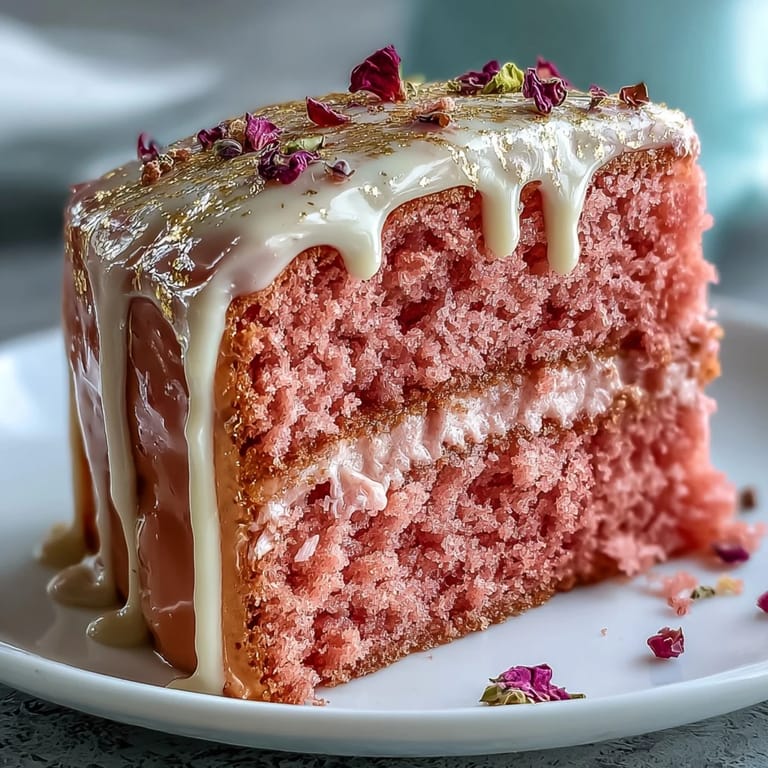
- Melt white chocolate with cream, cool slightly, and drizzle gently over the top so it trails down the sides in golden waves.
- Paint the Drips:
- Mix gold luster and vodka to make a shimmering paint, then brush each drip for a luxury finish—try not to get it on your fingers.
- Embellish and Finish:
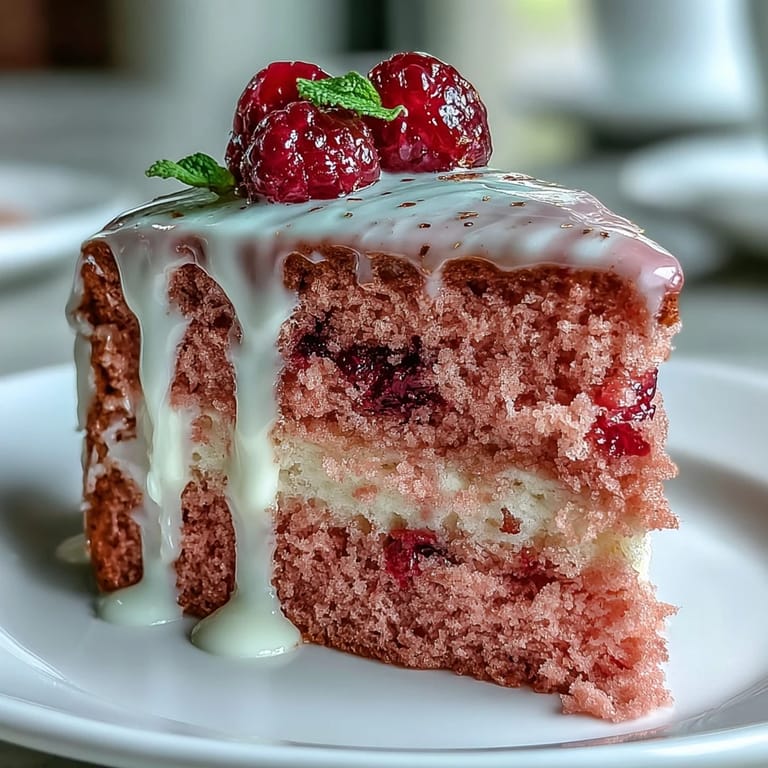
- Add edible gold flakes, petals or berries for a final crown—then stand back and admire before slicing into the party.
 Save
Save One of my fondest memories of this cake was watching the bride-to-be take her first bite—her eyes went wide, and she half-whispered, I didn't know cake could actually taste like rosé! For a few lovely moments, everyone paused their chatter with delighted smiles, savoring something beautiful and unexpected together.
Tricks for Even Cake Layers
I once learned that weighing out the batter for each pan makes the layers bake up perfectly level—it’s worth dirtying an extra bowl for. Don’t worry if you don't own a scale, though—a large ice cream scoop works well for dividing, and a quick visual check keeps things pretty close.
Mastering the Gold Drip
The first time I tried a gold drip, it ran all the way down to the base in wild tracks. Let your chocolate cool for about ten minutes so it thickens just enough—the drips will hold their shape and look polished, not puddling at the bottom.
Making Ahead for Big Events
This cake is a lifesaver for party prep because the flavors develop overnight in the fridge and decorating is less stressful on a relaxed timeline. Assembly can be broken up over two days: bake and cool the cakes one day, then frost and finish with gold on the morning of your party. Planning ahead gives you enough breathing space to enjoy the process without rushing.
- If you chill the assembled cake, allow an hour to come up to room temperature before serving.
- Use a gentle hand with gold—too much can overpower the delicate cake flavors.
- Always double-check that your luster dust is truly edible, especially for events.
 Save
Save May this gold-tipped cake bring sparkle to your next celebration and a dash of fun to your baking sessions. Here’s to sweet memories, shared smiles, and never being shy with the sprinkles!
Recipe FAQs
- → Can I use a non-alcoholic substitute for rosé?
Yes. Substitute with unsweetened grape juice plus a splash of lemon for brightness, or use a concentrated fruit syrup to mimic the flavor without alcohol. Reduce any added liquid elsewhere to maintain batter texture.
- → How do I ensure the gold drip sets without sliding?
Cool the white chocolate drip slightly so it’s warm but not hot before applying. Chill the cake after a thin crumb coat so the final layer is firm; apply the drip while the cake is cold to help it set and control the flow.
- → Which white chocolate works best for the drip?
Use high-quality white chocolate chips or couverture combined with heavy cream for a smooth ganache. Avoid baking chips with high stabilizer content that may create grainy textures when melted.
- → How can I keep the buttercream stable for piping and stacking?
Beat unsalted butter until light and creamy, then add sifted powdered sugar gradually. Incorporate rosé slowly to control consistency; chill briefly between stages if it becomes too soft. For warm environments, refrigerate between steps and use a stabilizer like a touch more sugar or a small amount of cream cheese if needed.
- → Is edible gold luster dust safe, and how should it be applied?
Only use food-grade edible luster dust labeled for consumption. Mix with a clear spirit (vodka or clear lemon extract) or an edible shimmer medium to paint the set drip. Avoid non-edible metallic paints and follow manufacturer safety guidance.
- → Can this be made ahead and how should it be stored?
Yes. Bake and cool layers, then wrap and refrigerate up to 24 hours. Assemble and chill the finished cake; store in the refrigerator and bring to room temperature before serving to improve texture and flavor.