 Save
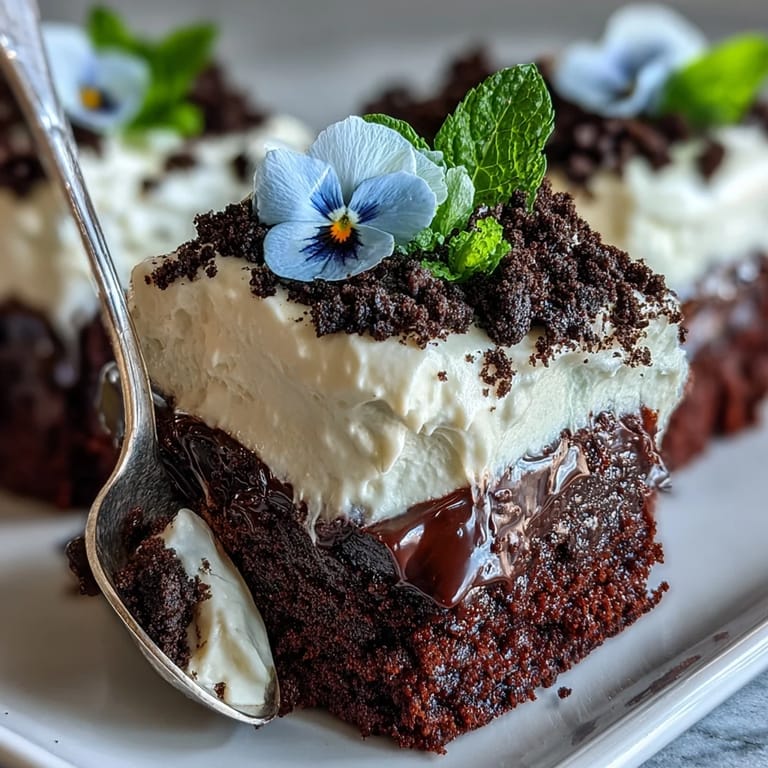
Save The first time I made these whimsical flower pot brownies, a light drizzle tapped the kitchen window and my dog hovered underfoot, attracted by the scent of melted butter and chocolate. There was something inexplicably cheerful about scooping brownie batter into ceramic flower pots, and by the time the 'dirt' went on, I couldn’t stop grinning at the garden I’d assembled on the counter. When I finally sprinkled on edible violets, the colors made up for the gloom outside. Even my mother, who is usually skeptical of “fancy” desserts, couldn’t help but smile at the playful presentation. These brownies turned out to be as joyful to make as they are to share.
One afternoon before Mother’s Day, my younger brother perched on a stool, solemnly crushing Oreos in a zip bag, announcing he felt “like a wizard making potion.” We laughed as more crumbs spilled on the floor than in the bowl, but the kitchen felt alive with the hum of preparation. My mom peeked in, caught sight of our makeshift assembly line, and declared, “I hope there’s enough dirt left for the desserts!” That playful teasing is now part of the ritual. Cooking these brownies together became less about perfection and more about a collective project with chocolatey hands and friendly messes.
Ingredients
- Unsalted butter: Melting the butter first brings out a richer, deeper chocolate flavor; I always use a knob extra to grease the flower pots so they release easily.
- Granulated sugar: Using fine sugar helps it dissolve quickly into the warm butter for a glossy batter.
- Large eggs: Room temperature eggs blend more smoothly and give the brownies that coveted fudgy texture.
- All-purpose flour: Sift it for airy lightness, especially important since we want the brownies to hold up when layered with toppings.
- Unsweetened cocoa powder: Opt for a good-quality powder for rich flavor; don’t substitute with hot cocoa mix.
- Baking powder: Just a touch is needed so the brownies aren’t too dense in the pots.
- Salt: If you skip this, the brownies taste flat; a pinch brings all the chocolatey notes together.
- Vanilla extract: Homemade or pure vanilla gives another layer of warmth to the dessert.
- Oreo cookies: Keep the cream inside when crushing for a softer, clumpier “dirt” that sticks perfectly to whipped cream.
- Heavy cream: Chill your bowl and whisk before whipping for guaranteed peaks every time.
- Powdered sugar: I like to sift this in so the cream turns out smooth and cloud-like, never gritty.
- Edible flowers or colorful gummies: Hand pick the freshest blooms—or let kids stick in gummy worms for a cheeky garden surprise.
- Fresh mint leaves (optional): These bring a hit of color and an aromatic lift if you have them handy.
Tired of Takeout? 🥡
Get 10 meals you can make faster than delivery arrives. Seriously.
One email. No spam. Unsubscribe anytime.
Instructions
- Get Your Pots Ready:
- Preheat your oven to 175&C (350&F) and line your mini flower pots with parchment circles, or line a small baking tray if using instead.
- Mix the Brownie Base:
- In a saucepan, gently melt butter until just liquid, then whisk in sugar and vanilla until glossy and fragrant.
- Add the Eggs:
- Crack in the eggs one at a time, whisking after each until your batter becomes thick and shiny.
- Fold and Pour:
- Sift flour, cocoa, baking powder, and salt directly over the wet mixture, then fold together until just combined—don’t over mix or brownies get tough.
- Fill and Bake:
- Spoon the batter evenly into the pots (or pan) and bake for 20–25 minutes, until a toothpick comes out with moist crumbs, not wet batter.
- Cool Down:
- Let your brownies cool completely in their pots, resisting the urge to rush—warm brownies make messy toppings.
- Make the Dirt:
- Drop all the Oreos, cream included, into a food processor and blitz until you have dirt-like crumbs, or crush in a bag for chunkier bits.
- Whip It Good:
- Pour cold heavy cream and powdered sugar into a chilled bowl, then whip to stiff peaks that hold their shape; a few extra seconds makes it pipeable if you’re feeling fancy.
- Assemble the Gardens:
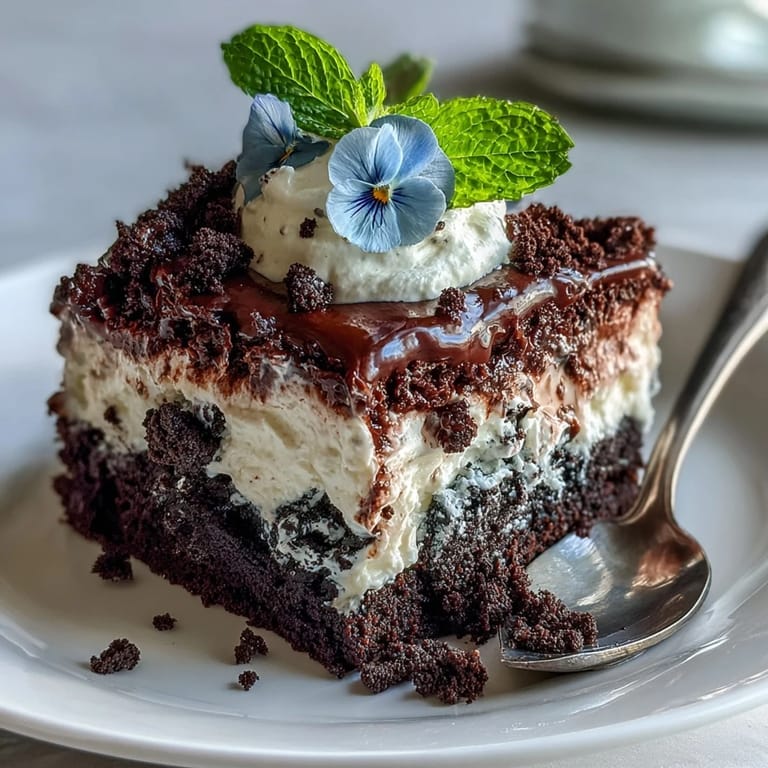
- If you used a tray, cut brownies to fit the flower pots, then layer on whipped cream, followed by generous mountains of Oreo crumb dirt.
- Decorate:
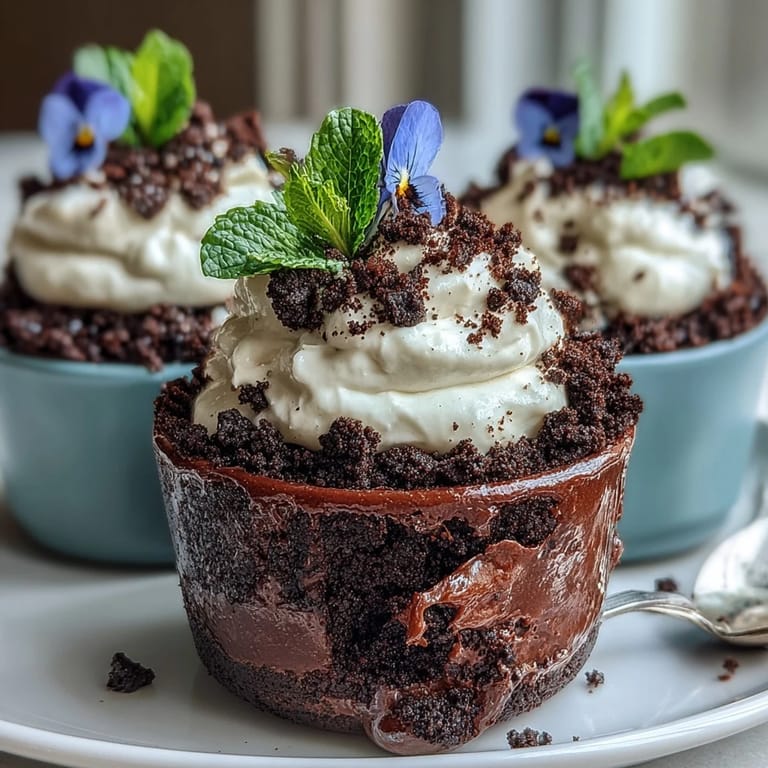
- Tuck in your edible flowers, gummies, and mint leaves, arranging them like a real potted garden just waiting to bloom.
- Chill and Serve:
- Refrigerate your finished pots until you’re ready to serve so everything stays picture-perfect and cool.
 Save
Save Seeing my mother’s face light up as she realized her dessert was disguised as a tiny flower pot was unforgettable—she said it made her feel like a kid again, playfully digging for treasure under the soil. In that moment, these brownies weren’t just sweets, but a way to stir up laughter and joyful surprise at our family table.
Choosing & Using Edible Flowers
Not all flowers are safe to eat, so seek out those labeled food-grade at specialty grocers or markets. Before using, gently rinse and pat them dry—handling them with care keeps petals crisp and vibrant on your brownies. A few pansies or violets can turn a simple dessert into an edible art piece. If you have little helpers, let them help with the decorating for some truly creative results. Remember, less is sometimes more—overcrowding hides the ‘dirt’ effect.
Substitutions & Time Savers
Pressed for time or feeling low-energy? A boxed brownie mix works in a pinch; follow the layering and decoration steps for the same delightful payoff. Swap out whipped cream for pre-made frosting or use chocolate pudding for a richer “soil.” If edible flowers are nowhere to be found, colorful gummies or even marzipan shapes are playful alternatives. I once swapped in crushed chocolate graham crackers for Oreos and the garden still looked deliciously earthy.
Flower Pot Assembly Troubleshooting
If flower pots aren’t oven-safe, using lined ramekins or clear plastic cups gives the same look for serving without baking. Let brownies cool fully before assembling, or your 'dirt' will sink right in and vanish under the cream. Sometimes whipped cream can soften fast in a warm kitchen, so keep a chilled bowl close at hand for quick fix-ups. If your brownie is stuck, run a small offset spatula around the edge first. Here are a few last minute thoughts:
- If you use real pots, double-check there’s no drainage hole at the bottom!
- A sprinkle of chocolate chips under the ‘soil’ adds hidden texture.
- Chill assembled pots until the moment you serve for best visual impact.
 Save
Save Whether you’re celebrating someone special or just want a little edible cheer, these brownie flower pots are a playful project and a guaranteed crowd-pleaser. Don’t be surprised if you end up smiling at your little lineup of edible gardens before they’re gone.
Recipe FAQs
- → Can I bake the brownies in a tray instead of flower pots?
Yes. Bake in a lined baking tray, allow to cool completely, then cut rounds or squares to fit the mini pots. Use parchment for easy removal and trim edges for a tidy fit.
- → How do I make the Oreo dirt?
Place whole Oreos in a food processor and pulse to fine crumbs, or seal in a bag and crush with a rolling pin. Keep some slightly coarser for texture if desired.
- → How can I keep the whipped cream stable?
Chill the bowl and beaters, use heavy cream with at least 30–36% fat, and add powdered sugar. For longer stability, fold in a little mascarpone or use a small amount of gelatin or a commercial stabilizer.
- → Are edible flowers safe to use?
Only use flowers labeled as culinary-grade from a trusted supplier or farmer's market. Wash gently and remove stems; common safe options include violets, pansies, and nasturtiums.
- → How long can these be stored?
Cover and refrigerate for up to 2 days. Assemble close to serving time if you want the whipped cream and crumbs to remain crisp; chilling helps flavors meld but can soften the crumbs slightly.
- → Any tips for dietary swaps or add-ins?
Use gluten-free flour and gluten-free sandwich cookies to avoid gluten. For texture, fold in chocolate chips or chopped nuts into the batter. For an egg-free version, try a tested egg substitute like flax or commercial replacer, but adjust baking time and texture accordingly.